November 18, 2021
Mark Twain was around experience today’s technology, he probably would have some clever quip about how only a fool doesn’t’ use great software to make their lives easier. To make a great product, building to make user lives easy is the key. After all, we want you to actually use the product!
So let’s take a quick look at how to get going with the SimpleKDS system.
Connecting a Clover merchant account to SimpleKDS
First thing first, you need to get the app. It’s not publicly available just yet but if you check back later, we’ll have the Google Play link to the product.
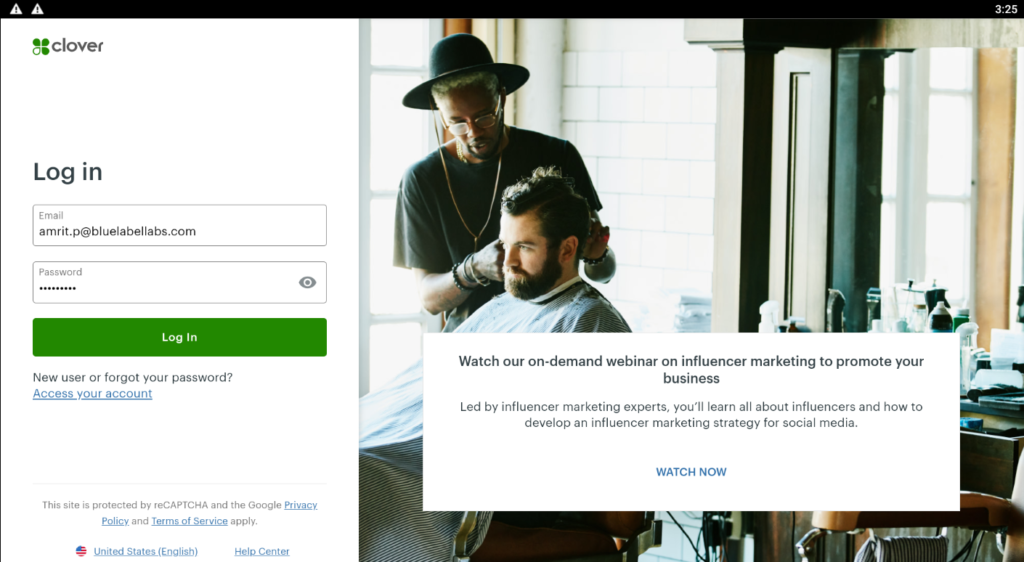
Once the product is installed, you’ll be taken to the login screen where you’ll need to first create an account: click on the Create one link below the login field then enter your information and once complete, you’ll be logged in to SimpleKDS.
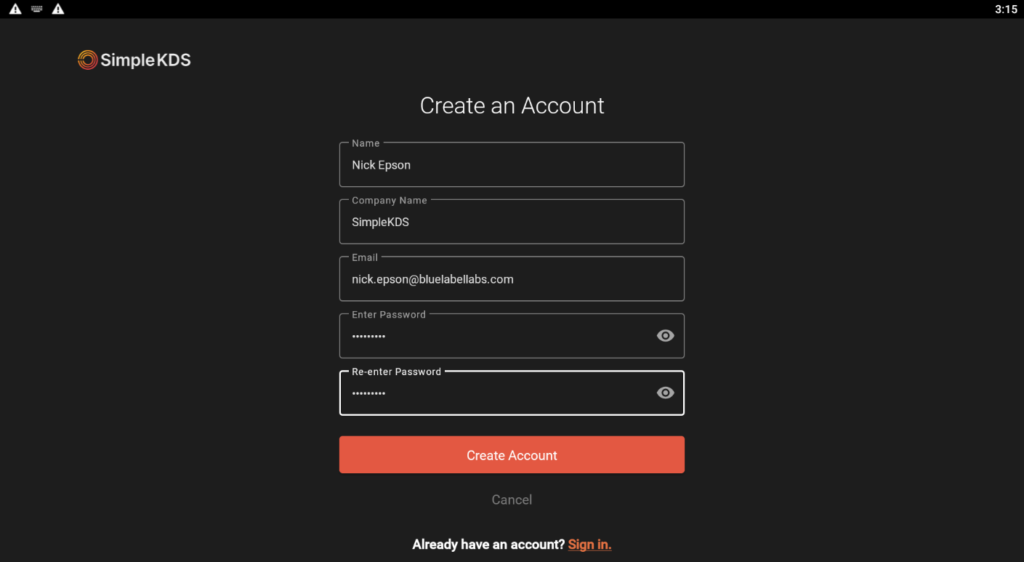
You know how setting up new tech can feel overwhelming so you put it off until the last second? This isn’t like that – it only takes a couple of minutes to install and securely configure the app, even if technology isn’t your forte. All that’s left to do is connect your Clover merchant by clicking on the Connect with Clover button to securely enter your Clover merchant credentials.
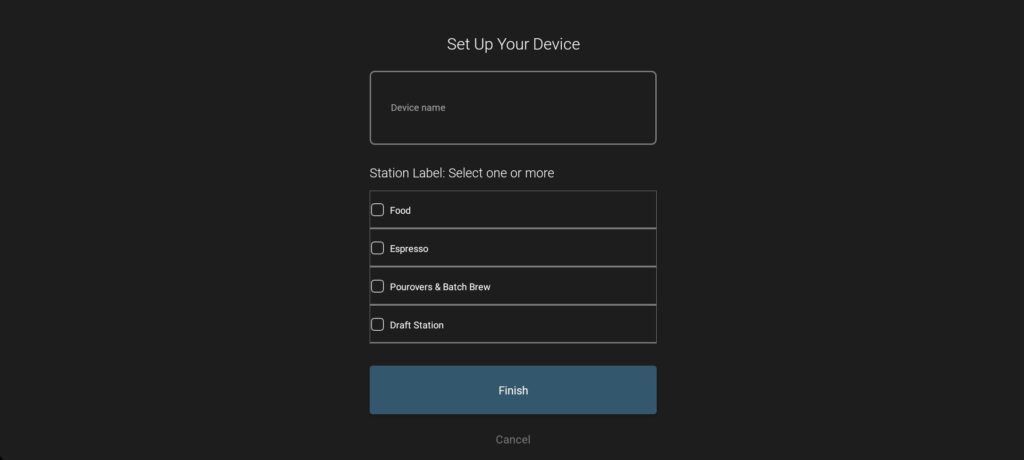
Enter a device name and check the label (or labels) you’d like to choose for the station where the tablet will be installed. The system automatically pulls labels assigned to inventory/menu items to easily organize orders as you see fit. You can also go wild and turn them all to have access to each label filter option – this is the way to go if you only need one kitchen display in your space.
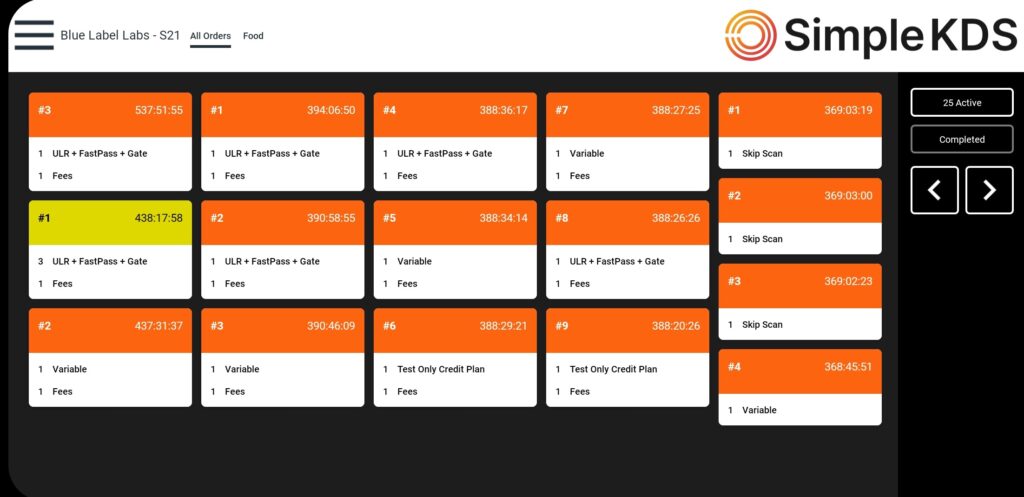
Once you’re done, you’ll be able to see active orders popular in a familiar swim-lane display. Labels will appear in the top menu where you’ll notice I have All Orders currently selected and Food as well since that’s the only label I ultimately selected when setting up this example.
That’s it. Just rinse and repeat for as many stations as needed. Keep an eye on our SimpleKDS blog for more tips and news.
